How Does Foil Printing Work?
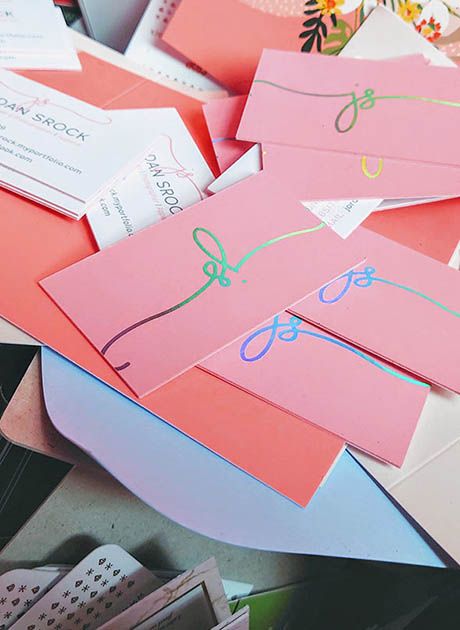
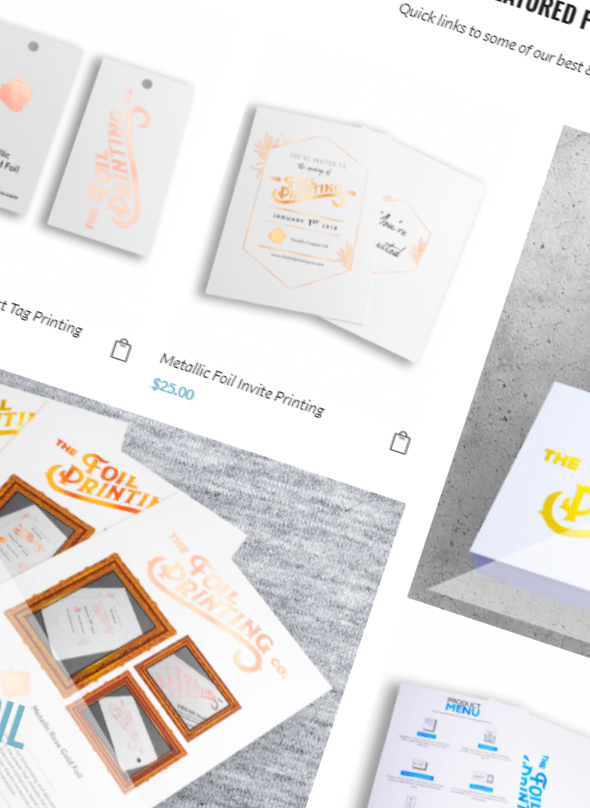
If you've ever wondered how does foil printing work? We're about to enlighten you. Foil Printing works by transferring pigmented foil onto a flat surface such as paper, cards, labels, and stickers. This is what gives foil wedding invitations their metallic design elements. It is also used for gold foil business cards to bring attention to the lettering and logos.
Hot Foiling, Cold Foiling And Digital Foiling
When it comes to foil printing, there are three methods, hot foiling, cold foiling, and digital foiling. These 3 foil printing techniques all have different ways of transferring metallic elements from a film onto the paper. Surprisingly, each method and the machines used for said methods can affect the shine and texture of the finished foil highlights. Foil printing has evolved from a slow manufacturing process to the latest digital equipment that is capable of fast foil printing with more customization options than ever before.
Before we take a look at the 3 different foil printing techniques, how they work, and what their advantages are, let's go back in time to find out where did foil printing come from?
Where Did Foil Printing Come From?
Foil printing was inspired by gold book covers and gold embellished stationery from the middle ages. This is when monks handcrafted sacred texts and debossed the leather covers, before adding gold leaf into the crevices they created. There were also other methods using natural pigments from flowers mixed with mercury that was painted onto paper by hand. These foiled artifacts were highly treasured and protected because books were scarce. In fact, during these times, most people were illiterate, and books rarely had a cover. By 1840, most books had a book cover and gold embellishments and metallic gold illustrations became more common.


Hot Foiling Printing Process
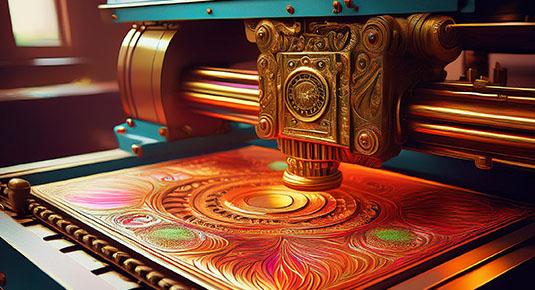

In the 20th century hot stamping was invented using metallic pigments on a carrier film and a metal stamp of your design (known as a die). Essentially, the die is heated to very high temperatures and then pressed into paper with the foil carrier film between the two. The hot stamp then pushes the foil into the card with a debossed effect.
Hot foil printing is seen as artesian as a metal stamping plate needs to be manufactured for each design from a solid block of metal. This means if a company wants to print business cards for its employees with each of their names in metallic foil, you'd need to have a die made up for each one.
With the hot foiling technique, because of how the foil is pushed into the paper, you can see the rough contours of the paper, so the light does not reflect as much as the other methods below. This also means that the foiled areas can be inconsistent, sometimes it can look patchy when the color doesn't get into the grooves in the paper.
Cold Foiling Printing Process
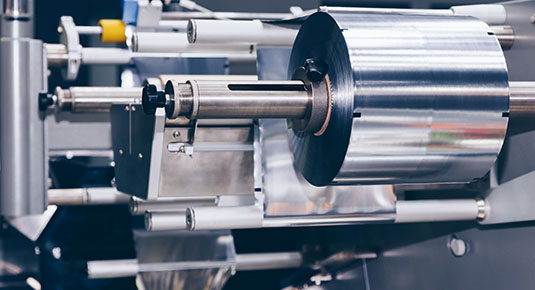

The cold foil method was invented to eliminate the need for the costly metal stamp-making process.
It is, therefore, a little faster and cheaper because it doesn’t require the plates to be manufactured for each design.
There are two steps to the cold foil method, first, glue is applied to the surface only in the places where you require metallic foil highlights.
Then the foil carrier film is applied to the top and put through a pressurized roller. This makes the foil stick to only the places where glue is present.
Because this process simply sticks the foil onto paper with glue, it can work on thinner materials because it does not need to deboss the surface area.
It is sometimes claimed to be more environmentally friendly because there is no heat and no need to manufacture plates for each design. However, it still uses similar materials with the addition of glue.
Digital Foil Printing Process
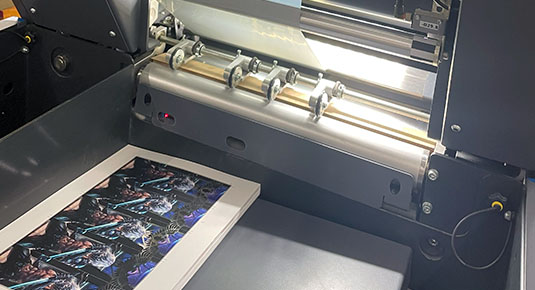

Digital foiling is a faster process where the artwork is sent from a computer to the printer where it is printed in layers. It does not require a stamping plate to be manufactured. It is a dry process and does not use solvents. Another advantage is that it can print more intricate details than hot foil stamping methods.
The digital foil method is a combination of both cold and hot foil methods where instead of the glue of the cold foil method, you print down toner from a digital printer which acts as the glue. Because the toner is digitally printed, the quality and detail you can achieve are unmatched. Once the toner is printed down, the card is then run through heated rollers with a metallic foil film. The heated roller re-heats up the toner so it becomes sticky and acts and the glue to make the foil adhere to only where the toner is present.
Another advantage is that you can combine the foil with color print on the same machine giving you a huge range of options when it comes to printing customers' designs


The example above shows the difference between the hot stamping method and digital foiling. The one in the middle is a hot stamping technique where the plate cannot achieve fine details. The digital foil printing technique with the white background shows more intricate details, including tiny lettering.
We offer the largest range of foil colors and paper types. Plus our foiling method is compatible with more finishes than other methods, making it ideal for foil flyers, brochures, business cards and even custom foil playing cards.
How Foil Printing Is Done
At The Foil Printing Co. we use the digital foil method to print your awesome foiled prints. That said, there are two methods we use which depend on if you opt to have a soft touch laminate layer underneath your foil highlights to further enhance the matt to gloss contrast of the paper or print when compared to the mirror finish foil.
#1 - Prep your design and print files. We have a blog all about setting up your artwork for foil print, long story short, provide one page in your PDF of what you're wanting to be printed in full color/black & white, and on the other page provide what you're wanting to be your foil elements in 100% black. Don't include your foil elements on the print-only page or print elements on the foil-only page.
Digital Foiling WITH A Laminate Layer
#2 - Depending on if you have chosen full color/black & white print alongside your metallic foil, the first step is to print that. So we'll load up our digital printers with your chosen paper type and print all of the full color/black & white elements.
#3 - Next, remember that foil will stick to toner, this is where the microscopic laminate layer comes into play. Essentially, we need to seal off all of the color print so that the metallic foil cannot stick to it. We load the printed sheets into the laminator machine and a soft touch layer gets applied over the print. If you've chosen a laminate but only need foil print over the top, then the first step would be to add this layer to the paper first.
#4 - Now we're ready to print the foil. These laminated sheets are reloaded into the digital printer and all of your foil elements in 100% black are printed over the top of the laminate.
#5 - Once the black toner is down, we then place the sheets through the foiling machine. This heats the black toner and with the power of heated rollers and foil pigments on a carrier film, the foil sticks to the black toner and transfers to the sheets.
#6 - Your foiled prints are now complete in layers consisting of print + laminate + foil like a beautiful shiny sandwich!
Digital Foiling WITHOUT A Laminate Layer
#2 - No matter what paper type you use if you've opted to print without a laminate layer the very first thing we print is the black toner for where the foil will be. If you're printing foil + full color/black & white print, we may need to make this toner slightly bigger than it needs to be (less than 0.5mm) so that any movement will allow any color print to cover this up and not leave any white gaps in your design. Our design gurus will sort this on your behalf so don't worry!
#3 - Once the black toner is down, we then place the sheets through the foiling machine. This heats the black toner and with the power of heated rollers and foil pigments on a carrier film, the foil sticks to the black toner and transfers to the sheets.
#4 - If you've chosen foil only with no additional full color/black & white then that's the process. Your prints will then be sent to be cut down.
#5 - If you also require full color/black & white print alongside your foil, then we'll take the foiled sheets and re-load them into our digital printer to then print the full color/black & white design over and around the foil with no print exactly where the foil is, almost like a stencil. This is where the print will cover up the slightly bigger foil.
#6 - Your foiled prints are now complete in layers consisting of foil + print like a beautiful shiny sandwich!
Want Your Own Custom Foil Prints?
If you're dazzled and think you'd like your very own foil business cards or prints then we're here for you. We offer the largest range of metallic foil colours including holographic foil. We also have more paper types than any other foil printing company. This means that our products such as our custom foil printed cards have over 300 combinations that you can choose from.
Digital foiling is a great way to make your business card stand out and give a good first impression of a premium brand to prospective customers.
Thanks to our range of equipment, we can also print custom products such as foil stickers, folders, bookmarks, postcards, greeting cards, tags and bag toppers.
Our Tips For Custom Foil Printing
Although we can print with or without a soft touch laminate layer, it's not always clear if your design will require it. Some designs depending on intricacy, paper type and additional print may mean we can only print what you want with a laminate layer. In this case if your order needs editing we'll contact you to let you know. That said, with foil only designs, we recommend going with a soft touch laminate anyway as foil looks more reflective when printed ontop of the laminate. To understand more, we have a blog all about if you will need to order your prints with or without a laminate so go ahead and give it a read.
You can still recycle our products that are laminated. Simply put them in the recycling bin with the rest of your paper and card waste.
If you print onto colored paper, we insist on using laminate, otherwise it’s too fluffy for it to print at it’s best.
If you're designing your own metallic foil artwork, see our guide on how to provide your artwork for foil print

 UK
UK FR
FR
