USA
USA FR
FR
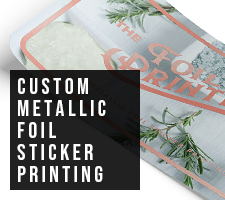


How To Check Your Foil Printing Proof
Ahhh foil printing. That shiny, showstopping beauty, and our namesake at The Foil Printing Co.
Creating custom foiled designs is a sight that many artists set their eyes upon. There’s nothing more fulfilling than seeing the artwork that you’ve worked so hard on become stunning foil printed flyers, business cards and invitations.
All that stands between you and foil printing greatness is the digital foil proof. Understanding your digital proof is crucial to getting the desired results from the foiling process. But what does this digital proof actually show?
Foil Sandwiches: Delicious And Good For The Soul
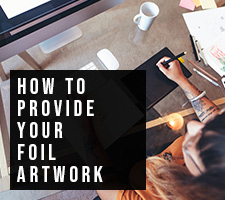
When creating your own foiled designs, having a basic understanding of the foiling process will work wonders and prevent our team from requesting your artwork to be changed. To help visualise the foil printing process, we’re going to imagine a sandwich. Yes, that’s right – a sandwich.
Much like a sandwich, the foil printing process is made up of many different layers that all combine to create something absolutely delicious.
The first layer of our foiled sandwich is the paper. Paper is the bread of this imaginary sandwich and acts as the surface for the print and foil to be applied.
After the paper we then have the print. The print is the filling of our foiled sandwich and is applied directly onto the surface of the paper. It’s important to see here that (in most cases) the print is applied before the foil.
Next in our foiled sandwich is a soft touch laminate. Our soft touch laminate is an essential part of the foil printing process. Like butter on bread, it’s something that foil simply cannot do without.
Now for the final layer – the foil! The last layer of our foiled sandwich, the foil sits on top of the soft touch laminate. Each of our stunning foil colours are completely opaque and will cover everything underneath.
We’ve built our foil sandwich, let’s see how it all looks together:
Foil Printing Proofs: What Does Each Page Show?
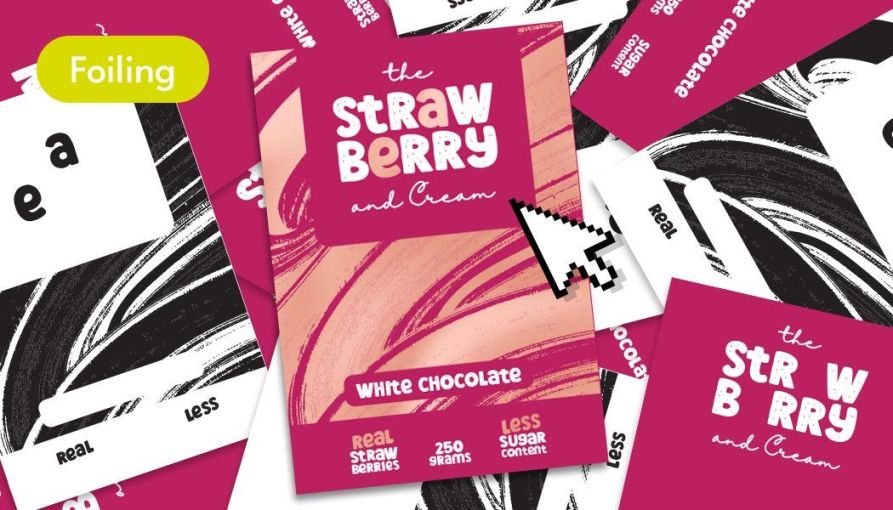
Now that we have an understanding of how the foil printing process works, let’s take a look at your foil printing proof. After placing your order and supplying your artwork, our team will be in touch with a proof PDF which will look a little something like this:
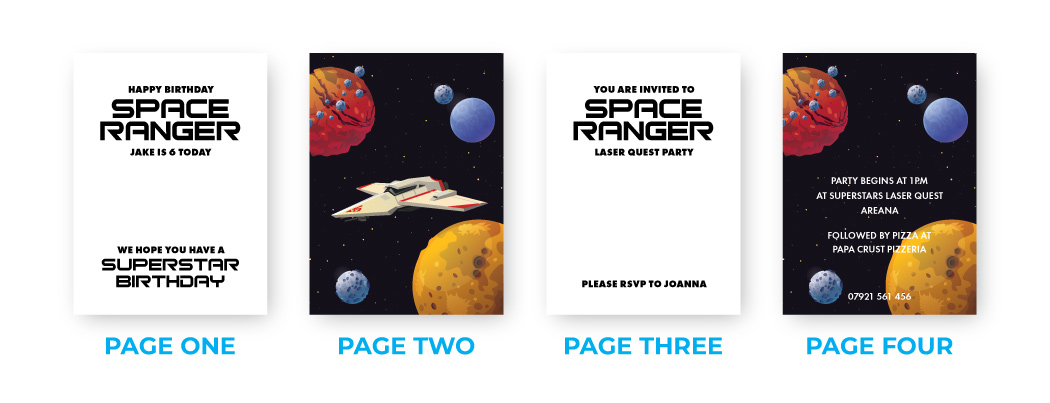
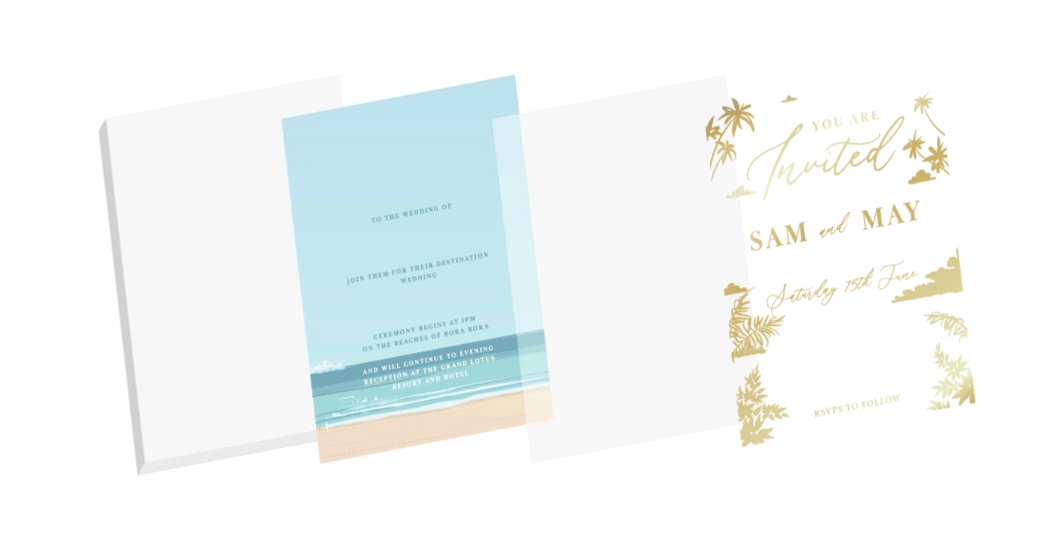
Each page of the proof represents a different step of the foil printing process. In the above example, page one represents the front foil and page two shows the front print. Remember our sandwich analogy from earlier? Page one will be applied over the top of page two to create the complete image.
When our design team get in touch, they will let you know in their email what each page of the proof PDF represents. And don’t worry, although the foil is shown here in black, it won’t be that way when everything is printed (unless you have ordered our black chrome foil of course!)
Foil Printing Proofs: Other Things You Need To Know
During the proofing process, our team may also send over some additional advice for you to read. It’s important that you do read it, as it will be highlighting any areas that are team are concerned with. Here are the recommendations you may receive from our team:
Foil Movement Tolerance:
Our foil has a slight movement tolerance. What this basically means is that the foil is not guaranteed to land in the same spot every time, there may be differences of 0.1mm - 1mm between each print. There are many factors that may cause this to happen, but the most important thing for you to consider is how this may affect your designs.
When creating your designs, shift the foil a fraction to the left, right, up or down. Is this movement detrimental to the design? If so, it might be best to reconsider the elements to be foiled, as unfortunately, foil movement is outside of our control.
Foil And Non-Foiled Widths
During the proofing process, our team measure your foil files to be sure that nothing will be too thin to foil. We do have a minimum width for foil and if anything is too thin, our team will ask for you to thicken it up.
This also applies for any non-foiled areas. Sometimes, areas of white on the foil file are also too thin and are likely to fill in with foil from their surrounding neighbours.
Borders
This one ties in with the foil movement tolerance mentioned above. Foiled borders can be pesky if positioned too close to the edge of a design. If the border is already close to the edge, and then the foil movement tolerance nudges it even further over, the chances of it being cut off or appearing uneven is very high. We recommend all foiled borders to be at least 4mm away from each edge.
Soft Touch Laminate
The soft touch laminate is an essential part of the foiling process. Sometimes, this laminate can make your certificates and invitations difficult to write on, and they certainly cannot be over printed through your office printer. Keep this in mind if you’re thinking of writing over your prints.
Foil Printing Proofs Made Simple
For many first time foilers out there, the idea of approving a foil proof might sound a little worrying. Our team don’t expect you to have an immense knowledge of the foil printing process, after all, that’s their job! If you are ever in need of help or advice, get in touch with our team today.